This is a quick tutorial on how to update WordPress plugins and what to do, when things go wrong.
What is covered:
First: Backup
Before you do anything, make sure you backup your WordPress website so you can revert to the current version of your website should something go wrong. With that said, here we go:
WordPress Plugin Manual Update 1 by 1
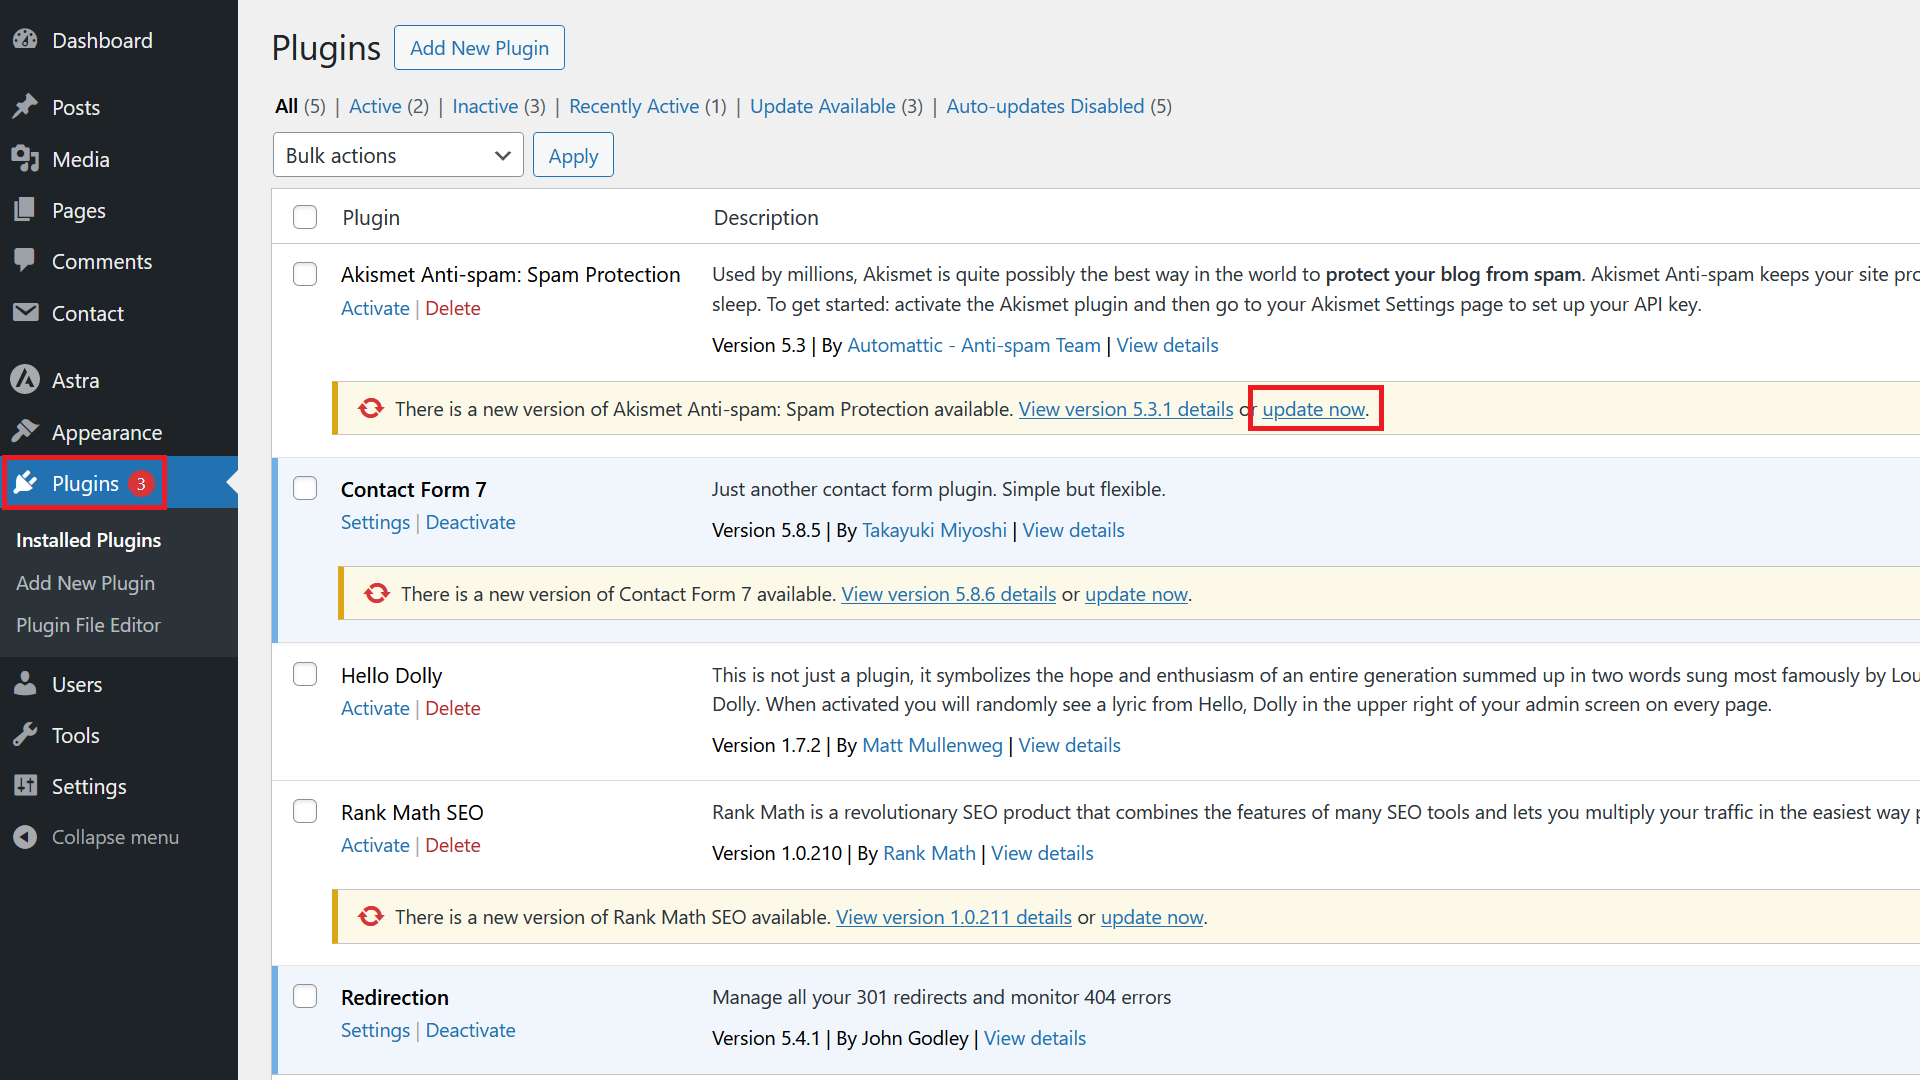
The most common way to update plugins is to go to the Plugins section and simply click on update now.
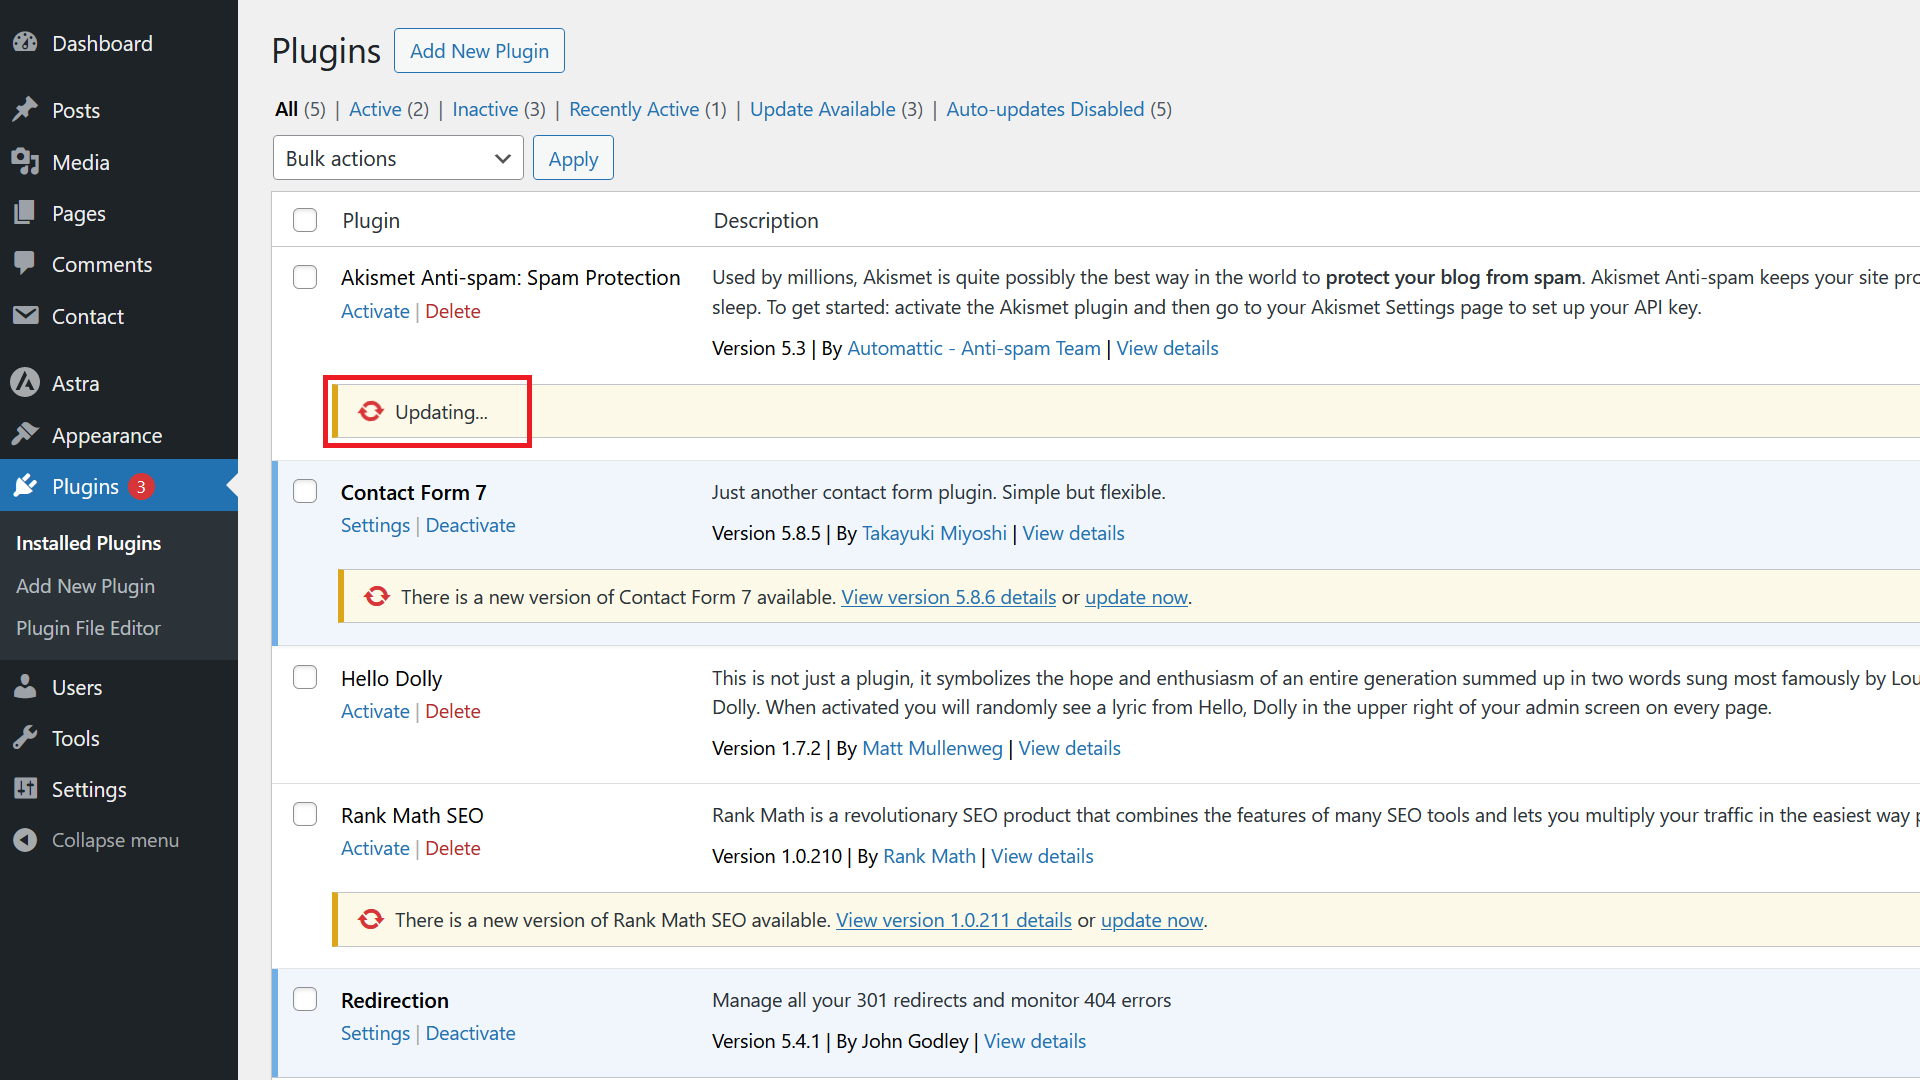
You’ll then see a message, that the plugin is getting updated.
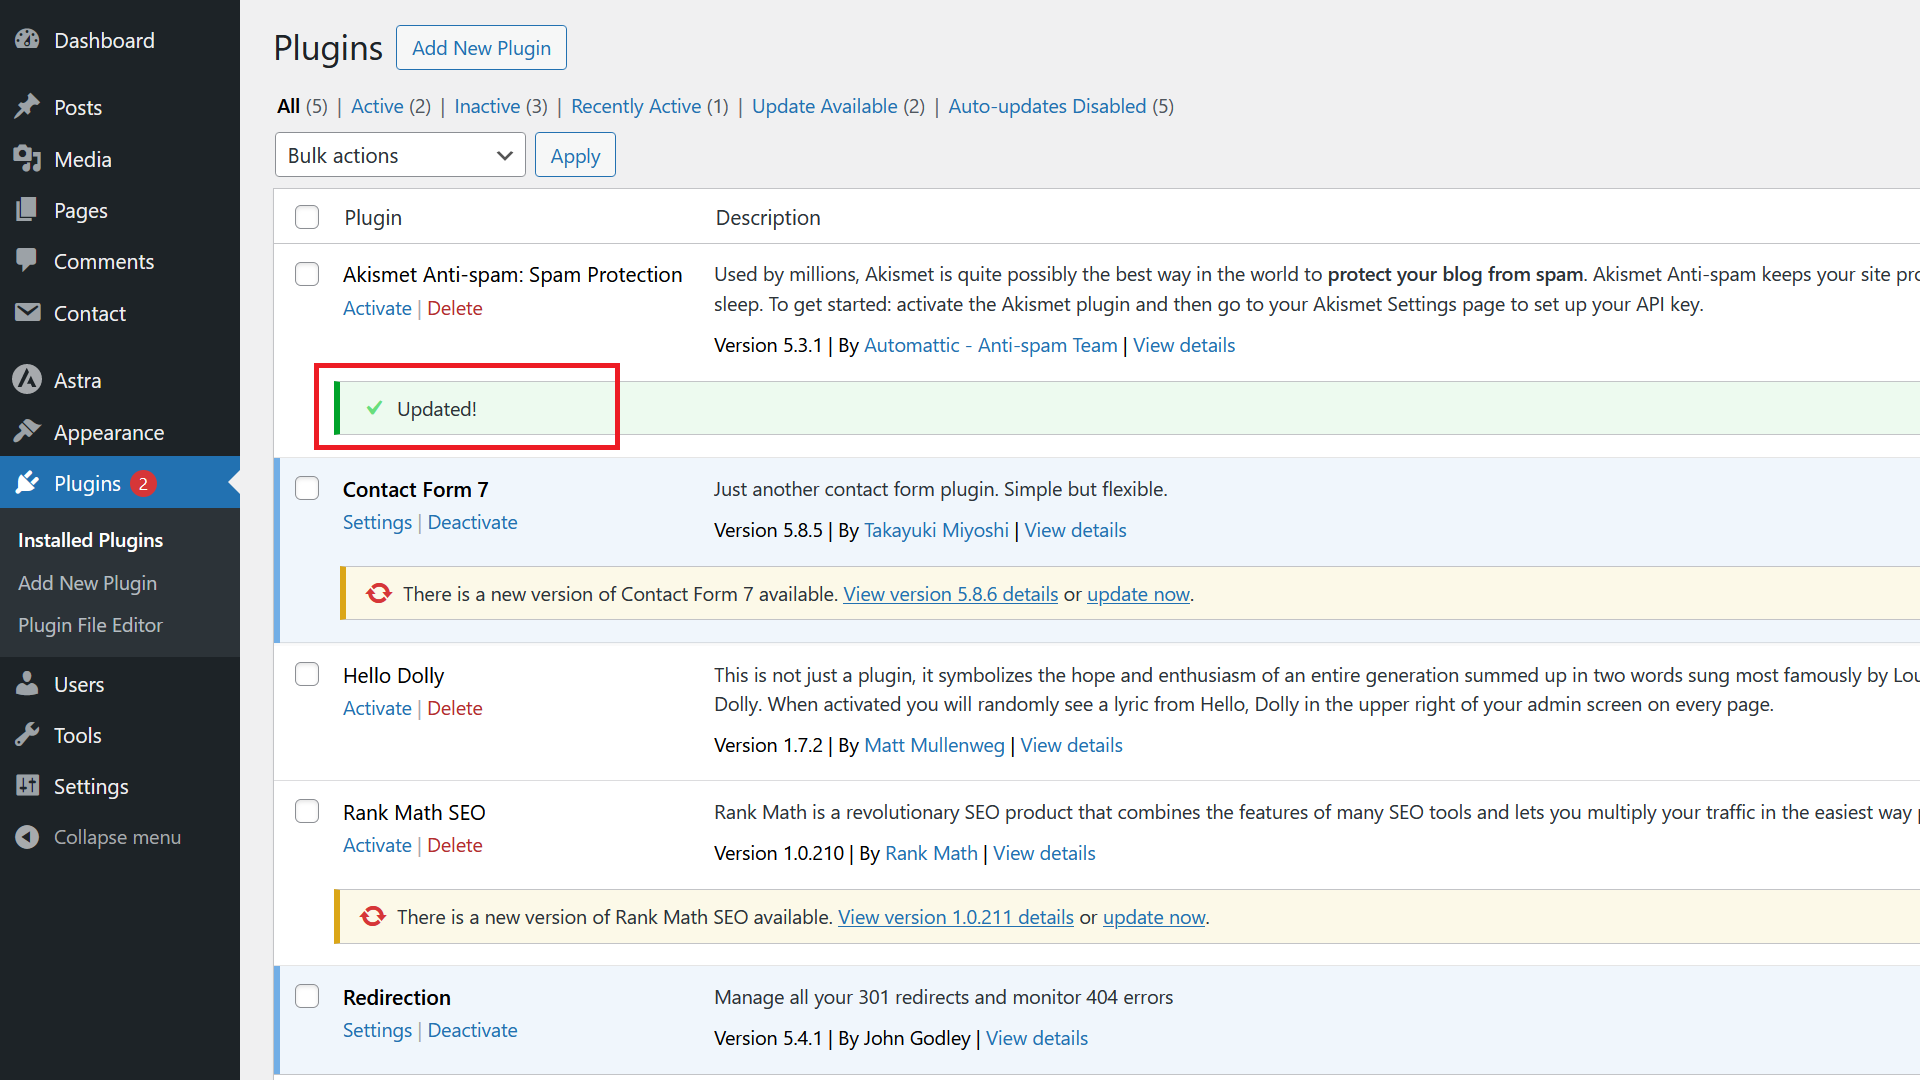
When finished, you’ll see a green coloured Updated! note.
Manually Update Multiple WordPress Plugins
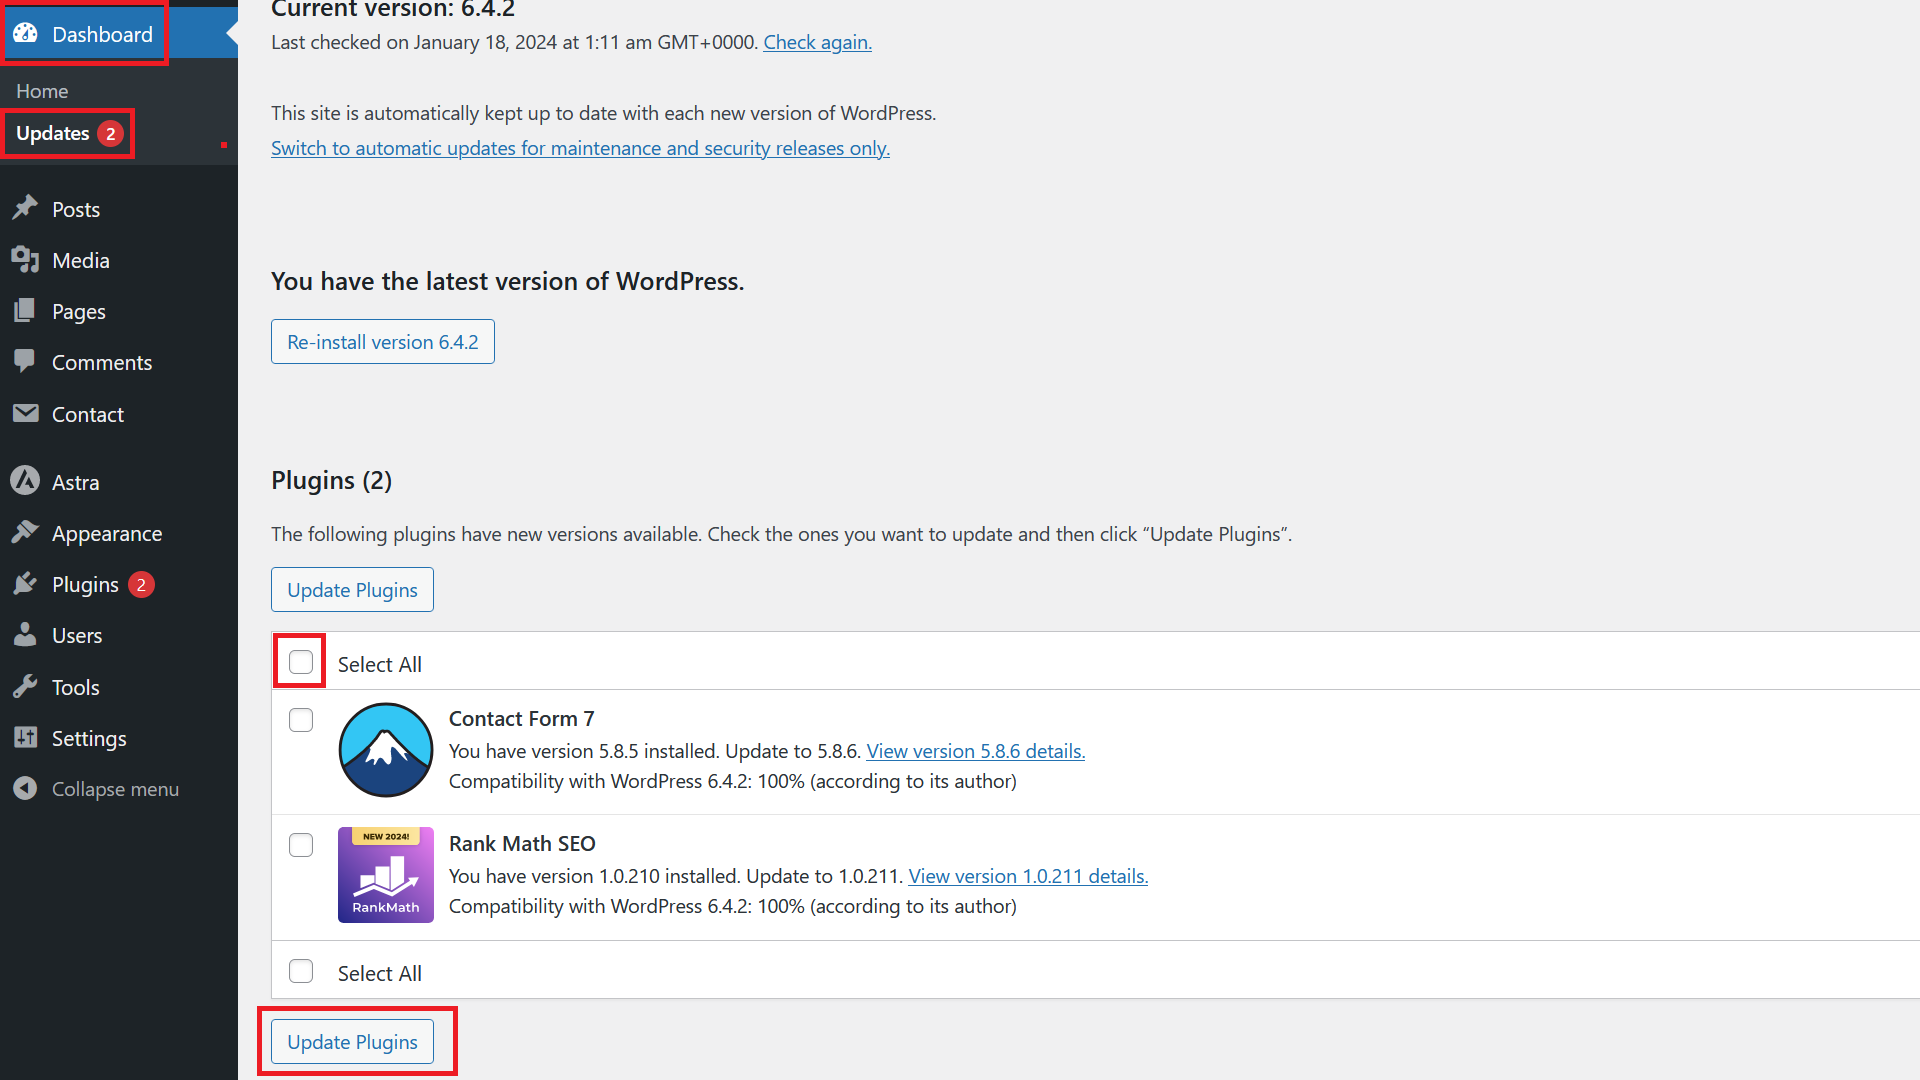
To update multiple plugins at once, you can go to Dashboard / Updates, tick the Select All checkbox and click Update Plugins.
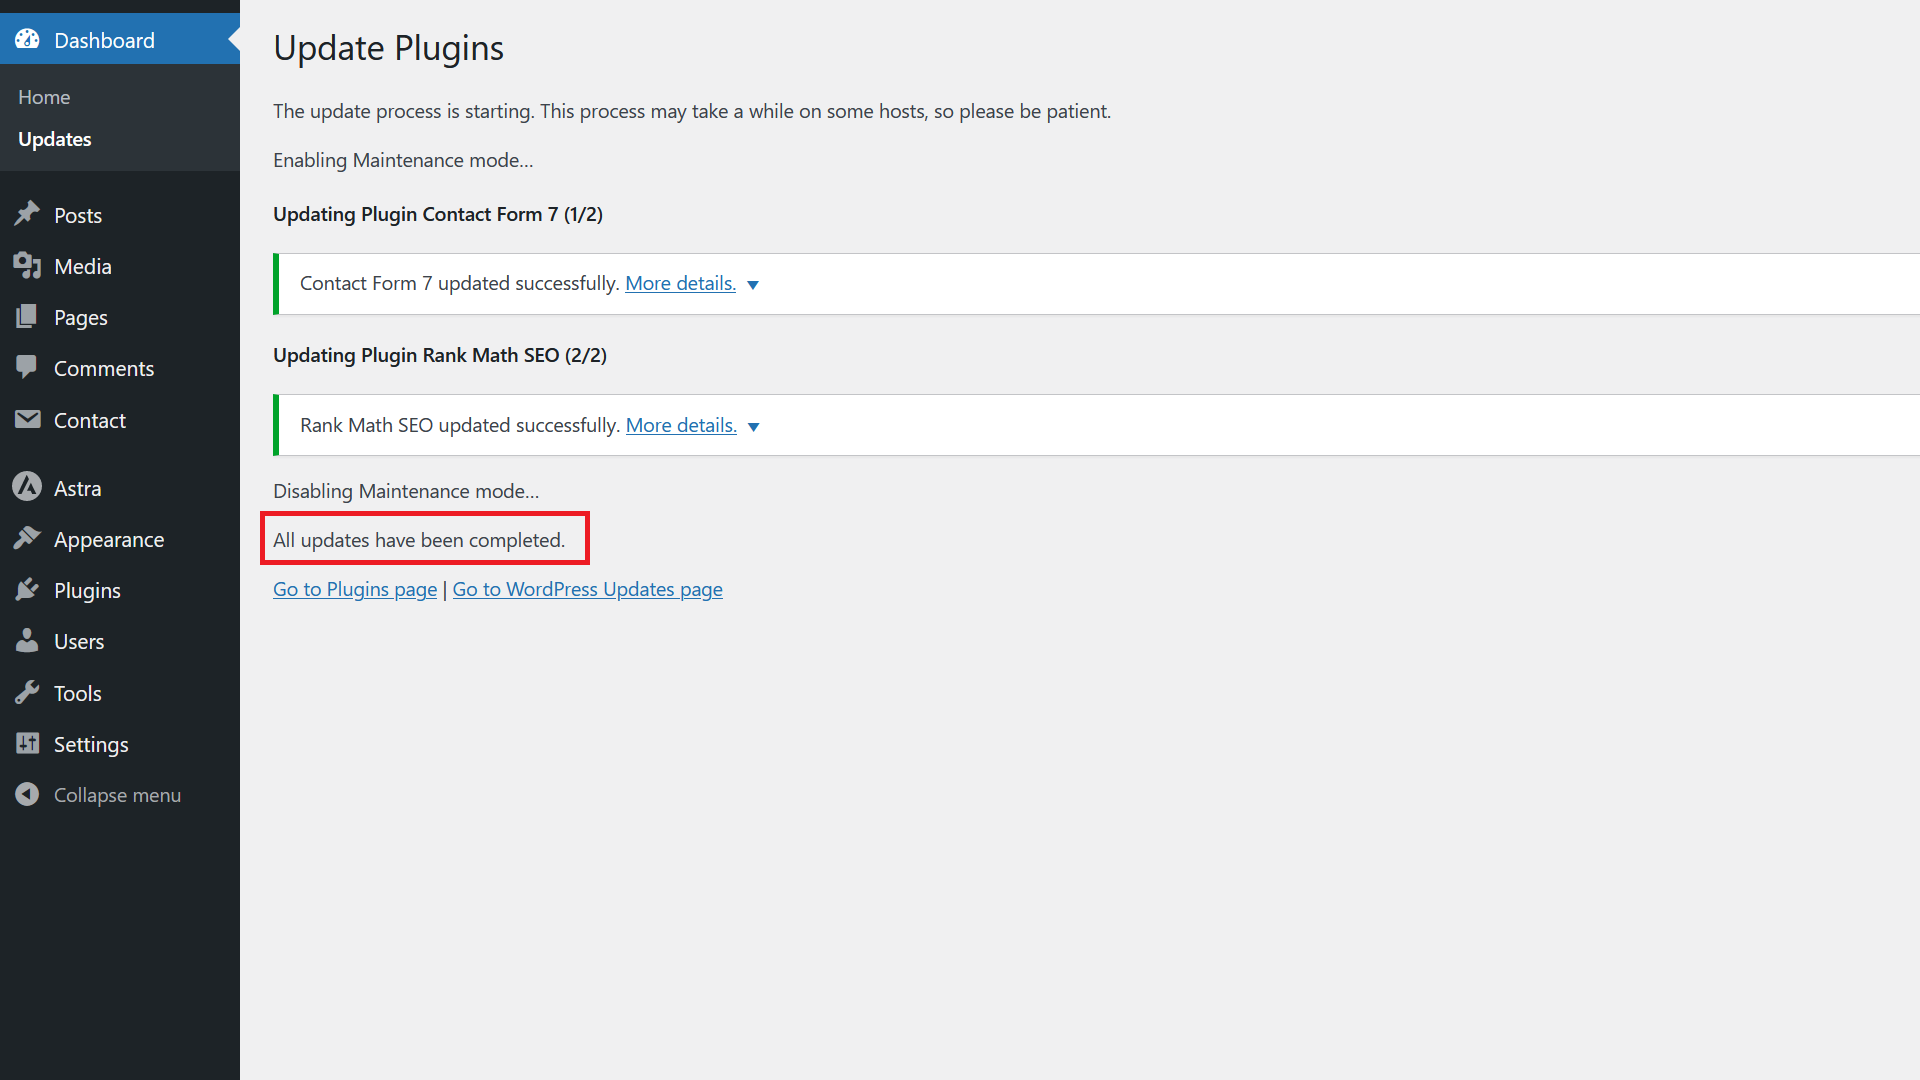
Depending on your server and the number of plugins, you’ll probably have to wait a few minutes until you see a message, that all updates have been completed.
What if WordPress Plugin Updates Fail?
There are two types of failures really:
Failure one is that you will see a red banner saying that the update failed. In most cases, this happens to paid plugins when the license either has expired or isn’t entered correctly. So depending on your plugin, make sure your license key is entered correctly. If that is not the reason, try again a couple of hours or 1 day later, sometimes the server the plugin update is loaded from might not respond and time solves the problem.
Failure type two is the bigger problem. That’s when a plugin update leads to an error on the website itself, so that you can’t do anything anymore. In that case, the easiest solution is to roll back using the backup you took before starting the updates.
Automatic WordPress Plugin Updates
When it comes to automatic updates in general, try to avoid them as much as possible. Especially with plugins, something can go wrong very easily, so making sure you know when the updates happen and that there is a backup in place are very important.

